brouwpa
Super member
This is what I found:
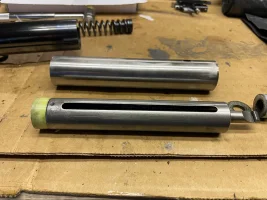
1 it already has a kit inside with a power washer installed, I think the existing spring has slightly thicker wire than the new TBT one and the spring guide is not as snug as the new one
2 I think the piston rod is off centre, it oscillates slightly when I spin it in my drill. If I do it slowly there is a definite high and low point
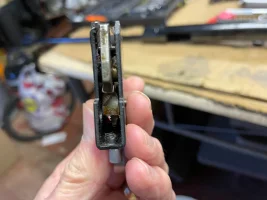
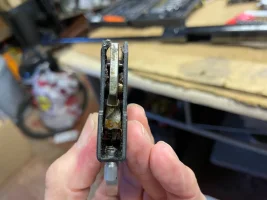
3 the trigger is really mucky inside.
The problem was that it is very twangy am I correct in thinking the off centre rod could be responsible? There is some space between the spring and piston, so I was thinking a liner might be useful ?
I have a new setback trigger to install so will the trigger Need to be dismantled to fit it?
Any guidance would be greatly appreciated
Cheers Paul
1 it already has a kit inside with a power washer installed, I think the existing spring has slightly thicker wire than the new TBT one and the spring guide is not as snug as the new one
2 I think the piston rod is off centre, it oscillates slightly when I spin it in my drill. If I do it slowly there is a definite high and low point
3 the trigger is really mucky inside.
The problem was that it is very twangy am I correct in thinking the off centre rod could be responsible? There is some space between the spring and piston, so I was thinking a liner might be useful ?
I have a new setback trigger to install so will the trigger Need to be dismantled to fit it?
Any guidance would be greatly appreciated
Cheers Paul
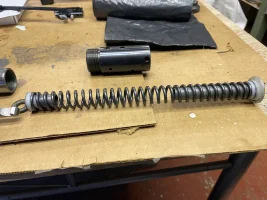

 it will look better tomorrow when I put it in my drill.

